Figure Me Out Poster

One of my first math activities for my grades 1 & 2 class this September was having them create "Figure Me Out" posters. There are several variations around, but I found mine at
Shut the Door and Teach and adapted it for my class.
- They first answered the question on a BLM that I created.
- Next, we brainstormed for different ways to represent numbers: number word, tally marks, etc,. which I recorded on chart paper for the students to refer to when they created their posters.
- Then they looked at their answers and decided which number representation they will use for each one. They recorded those on 8 cm x 8 cm sticky notes. One the actually poster, they did not write any numbers, they had to decide how they would illustrate the question, e.g. What is your phone number, most decided to draw a phone.
- Finally they stuck their stickie notes on top of the matching illustration.

This poster idea is similar to the "Math About Me" ideas floating around on Pinterest, but I found this activity takes it a step further. The following day, the piled up their stickies, reread their questions and re-positioned their stickies. For some, that proved to be quite challenging. Each student also tried to "Figure Out" several of the other students by answering their questions.
String Heights Graph
One of questions on their poster asked about the students' heights. We decided to measure our heights using an idea from
Going back to Kinder.
- We measured string for their heights and taped the students' head shots on one end to create a graph.
- When we do graphing, I usually ask my students, "What does the data tell us?" and we create various statements about the information including comparison statements. In this particular case, we had to refer back to the information on their BLMs and posters, since measuring with string isn't overly accurate and some string stretches, so students are able to increase their height if they are so inclined :)!
Who Lives at My House

Another question on their poster is about the number of people in their families. I found a simple, but neat idea for this
Family Glyph and want to credit the blogger, even though I wasn't able to visit the blog, but her picture is self-explanatory.
One of my university methods professors reminded us that "If you're just going to do a glyph to simply hang on the wall, you haven't done any math. That is just a glorified art project." I don't even think it's art either.
So, after completing the glyph, we all gather around in a circle on the floor, with the glyphs in the centre to do some logical thinking! I start by giving clues about the information on the glyphs: I'm thinking about someone who has... at least one sister, a pet, etc. Usually I try to make it so that just a few people are removed with each statement. After a few goes, the students take turns giving clues.
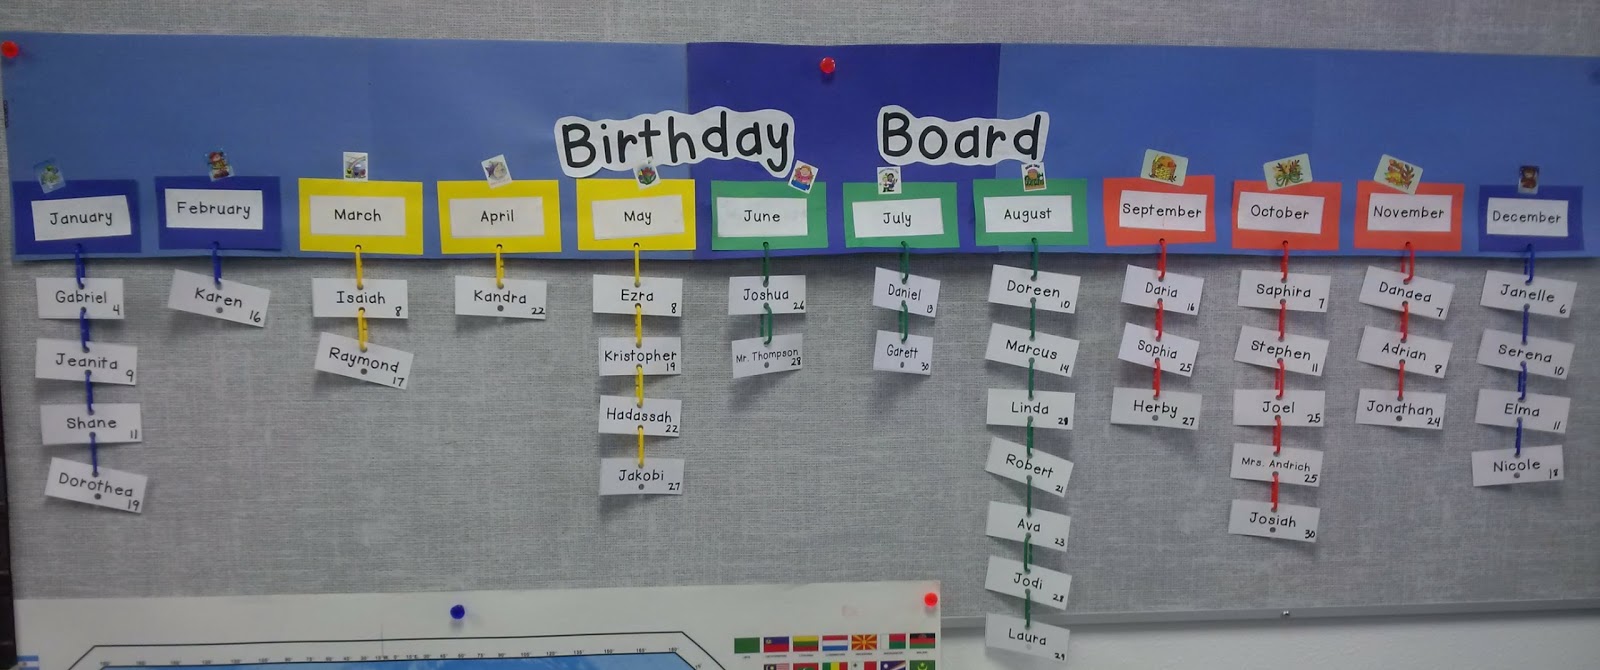
Birthday Board
A third question on their poster asks about the students' birthdays. I extending this section by creating a birthday board similar to the one I found at
Etsy a while back. Their's is made out of wood, while we made ours out of poster board and card stock.
- I started by asking my students when their birthdays are and in what season they fall in. For most of the class, the latter was a new notion for them.
- We then looked at a twelve month calendar. My students have agenda books, so we found a copy inside the front covers.
- We googled the first day of each season and proceeded to sort the months according to season. Of course there is overlap, so for simplicity sake, I decided to start with the month the seasons start with and the following two months: e.g. spring - March, April and May.
- We colour-coded the month labels by gluing them to different coloured card stock, depending on the season. I printed the name of each students and staff member on white card stock.
- Next we added the birthdate to each name card and arranged the names below their corresponding month in numerical order.. We punched holes below each month label and above and below each name label, then attached the labels with plastic chain links.

We concluding the activity by filling in a BLM where students referred
to the Birthday Board to answer questions regarding the months and
seasons of our birthdays.

When reflecting on this personal identity project, I discovered we had worked on concepts in each math strand:
- Number: counting, comparing and ordering numbers,
- Patterns & Relations: repeating patterns
- Shape & Space: months of the year
- Statistics &Probability: gathering and recording data
In addition we touched on several social studies and science concepts:
- Social Studies: similarities and differences
- Science: four seasons
Sometimes items in a series of lessons seem to fall into place without too much effort and this was one of them! It was great to have it develop into a learning experience that spans several different curriculum areas and more importantly, one where students are excited about the discoveries they make about themselves.
 As usual the students and teachers at
our school created Christmas gifts for all the families on
our colony. This year's idea came from the Facebook page of my friend,
Candice Cancade. Hers is much more elaborate than our simplified
version.
As usual the students and teachers at
our school created Christmas gifts for all the families on
our colony. This year's idea came from the Facebook page of my friend,
Candice Cancade. Hers is much more elaborate than our simplified
version.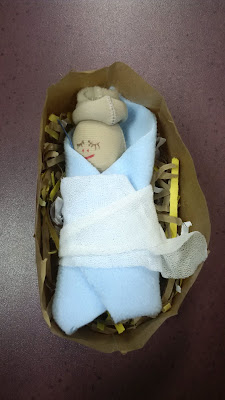 Baby Jesus Craft


